
Budgeting your build
A new bike build can be expensive, and when the frameset you want is £1250 (the price of a Rufus Stone), it’s easy to think that the dream build you want is out of reach. I wanted to look at some parts and areas of the build that you can save some funds on without compromising the overall finish or the quality of its riding capabilities. As well as that I want to talk about some items that you maybe don’t want to go cheap on, but that for the price will last you for years to come.
The first component I want to talk about is your crankset. In my opinion, there are not that many modern cranks out there that have a simple pleasing to the eye aesthetic. The ones that do look good are going to set you back a pretty penny. Those are a set of White Industries or Rene Herse cranks. What you can find in abundance are old MTB cranks. These casted and often modestly shaped cranks are cheap, adaptable, and available in high quantities from lots of different sources. Some are in better condition than others and some are slightly more expensive, but it’s quite easy to find a decent pair for around £100 which is a bargain compared to their modern visual equivalent. Then to round them off for a simple 1x drive train all you need is a narrow wide chainring at the compatible BCD and bosh you’ve got yourself a sweet looking set of cranks.

Next, let’s talk shifting. I only started using friction shifting about 2 years ago and I wouldn’t go back. There are multiple benefits including cost, ease of setup, compatibility, and aesthetics. I’ve been using a microshift 10spd bar end shifter pretty much since I switched over and the thing is bombproof. I did use the Dia compe ENE one for a bit which has a really nice ratchet system but using it with some 10 spd it had its limitations so I switched back to the microshift. The thing that makes this setup so affordable for me is that you can choose a more affordable derailleur and still get great shifting as the shifter to derailleur function is that much simpler. What also saves you money using a friction shifter is that you can use regular brake levers instead of grifters. I’ve been using these Shimano levers on all my builds since I switched to friction shifting, they are cheap at about £25/£30 look great, and work just as well. You can also find vintage levers online if that’s your sort of thing.


Another part you can get at minimal cost is a good pair of flat metal pedals. Coming from BMX I was always a fan of a well designed platform pedal. The holy grail would have to be the classic Shimano DX pedal that first came out in 1981 (note while I was looking for a link to add I found these on eBay, yes $1500. Vintage BMX stuff goes for crazy money.) These were a staple while I was growing up riding BMX in the early 90’s and in my opinion a source of inspiration for all platform pedals that followed them. All that said you can pick up a good pair of loose ball bearing BMX platform pedals for around £40. I’ve been using Odyssey trail mix on both my gravel bike and BMX bike for years now and never broke a pair. I prefer loose ball bearings because you can service them easily and unlike most sealed bearing pedals, when they come loose you can easily tighten them back up and you are good to go.

Those are some of my recommendations for a slightly more affordable build. Now let’s look at a couple of parts that you probably don’t want to compromise on and although they are expensive if you look after them they will last you for many years to come.
I think this for me is the number one item that you don’t want to compromise on and it’s pretty obvious why. This would be your saddle (or seat if you prefer that) and let’s be honest there is one obvious choice and that’s Brooks. A standard B17 will set you back about £135 but when you spread that cost across the amount of years’ service you will get that’s a bargain. Let’s face it your butt is on that thing for miles on end and if it isn’t the right saddle, you’re going to pay for it in ways you wish you never had. The supple leather will mold to your booty and just get better and better the more miles you put in. Love your brooks and it will love you back for years to come.

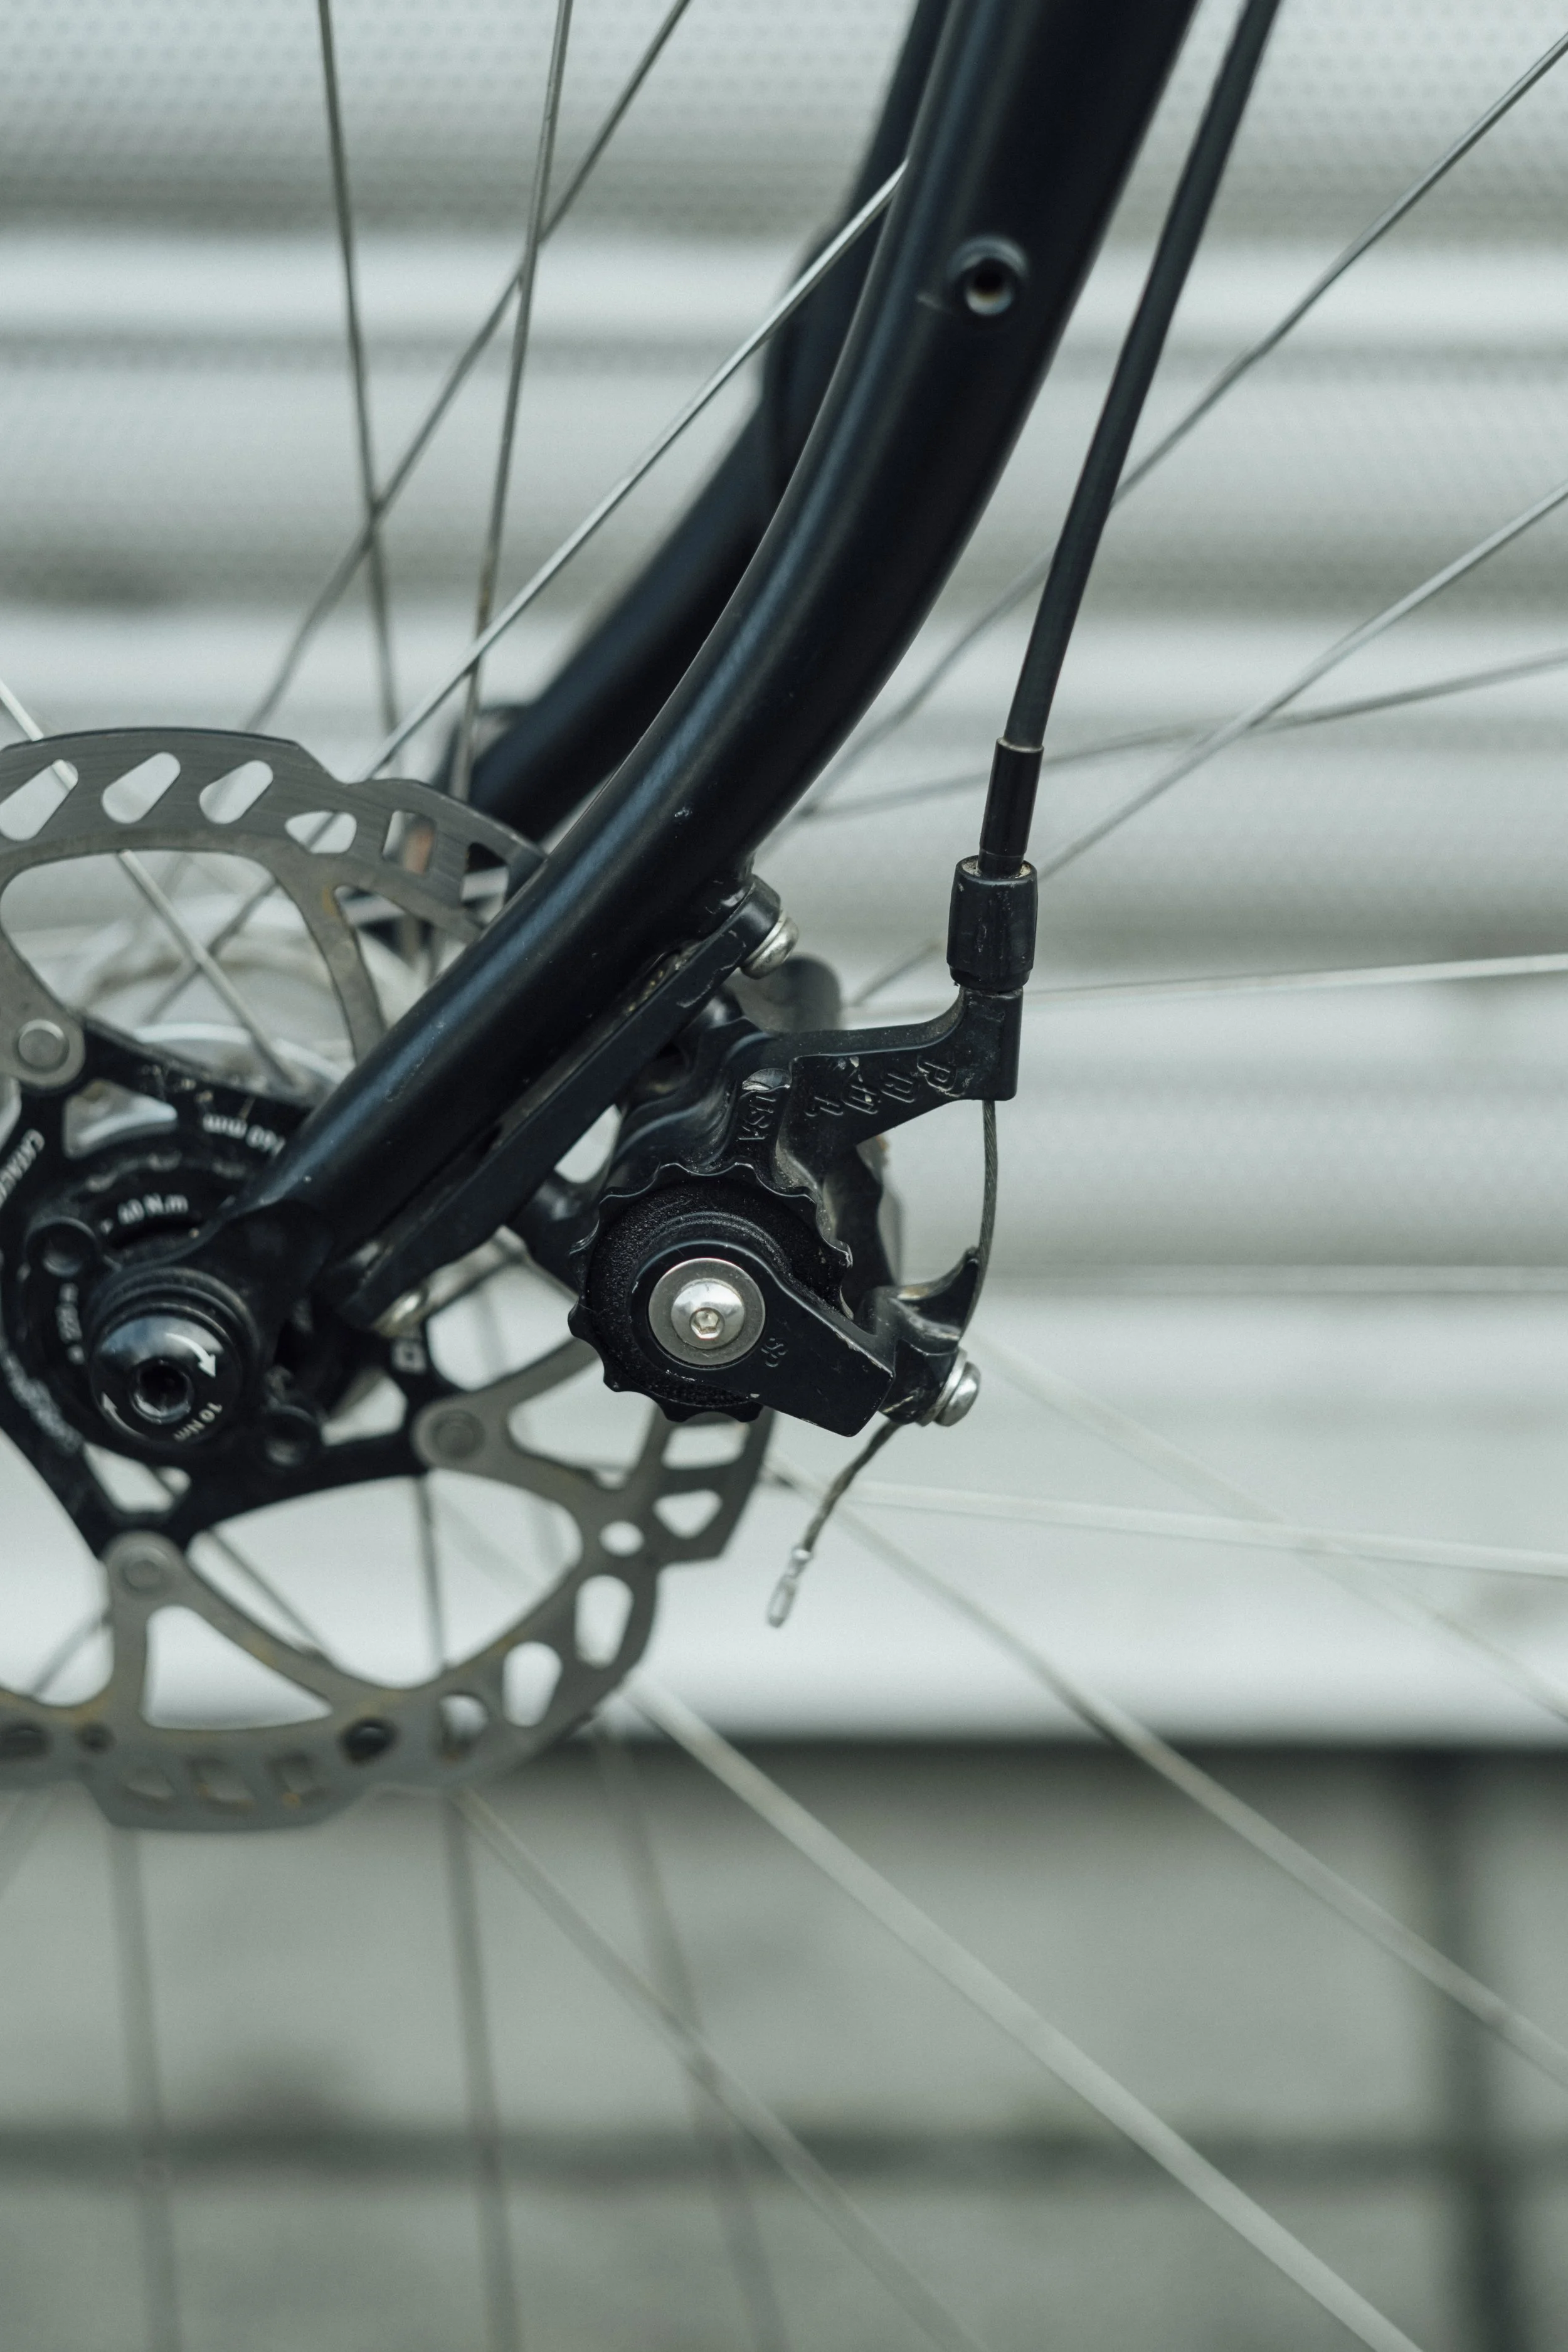
The other part to not cheap out on is pretty new to me but after using them for close to a year now I’d say I’m sold, and this would be a good set of Paul disc brakes. When I got my sample Rufus Stone, I treated myself to a set of Paul Klampers, and although they might be one of the most expensive bike parts I have ever bought (around £250 each) they are worth the money. I have bikes with rim brakes, and they have really cheap Shimano cantis on them that work really great, I honestly couldn’t see something else working much better for the cost (not that I’m against trying it) but these Klampers have such a good snap to them and lock up perfectly every time no matter the conditions. Fully mechanical which I’m always going to lean towards and fully serviceable so again something that if looked after will last you for years to come. The other alternative to Klampers that I haven’t used but heard good things about is the Growtac equal disc brakes. These are also a bit more reasonable at £340 for the pair.
After writing all this I feel compelled to say that although one of our frame sets has the price tag it has, much like the Klampers and Brooks saddle if you look after it a steel frame and forks will last you for years. This is evident when you look around and see all those classic 90s MTBs and even older road bikes still out there being used today.

Living here in the UK with such a wet climate I would strongly advise using a can of frame saver before you build the frame up. This will help lessen water damage in the tubes of your frame and lengthen its life span even further.
All photos shot by Simon Weller